
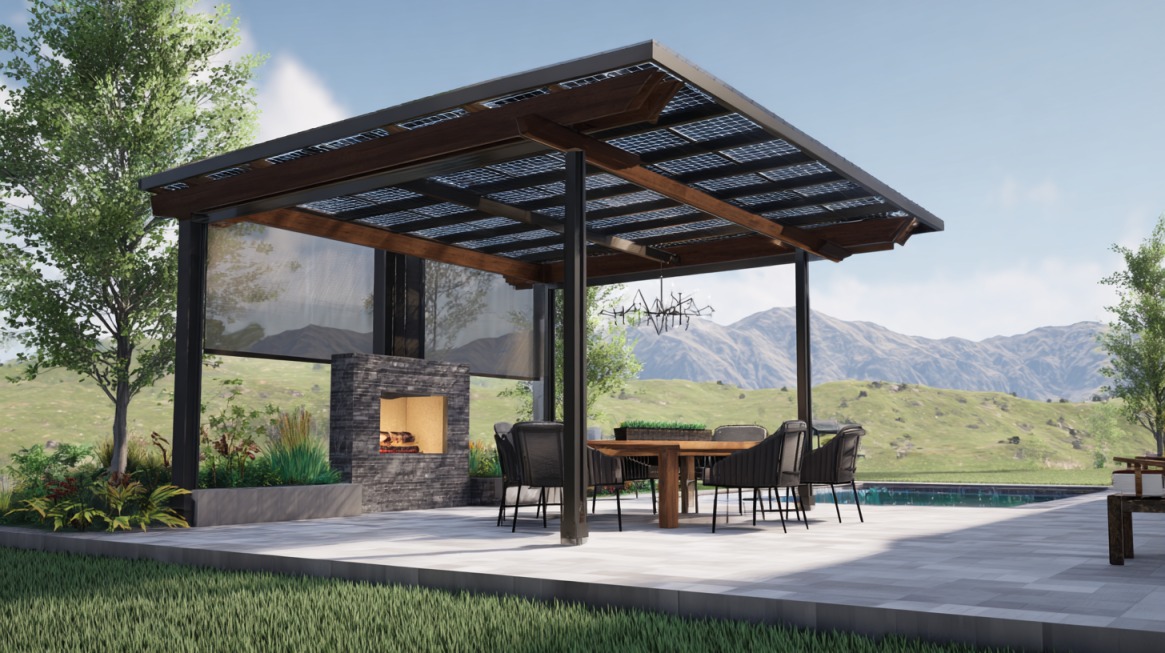
Harnessing solar energy at home now extends past roof panels. A solar pergola combines outdoor comfort with sustainable power. It’s more than a shade structure, it’s an investment in energy independence.
A solar pergola is an outdoor structure designed to support solar panels on its roof while offering shade and visual appeal. It typically features vertical posts, cross-beams, and slats, with solar panels installed on top.
Let us talk about how you can build a solar pergola on your own.
Part #1: Planning & Design
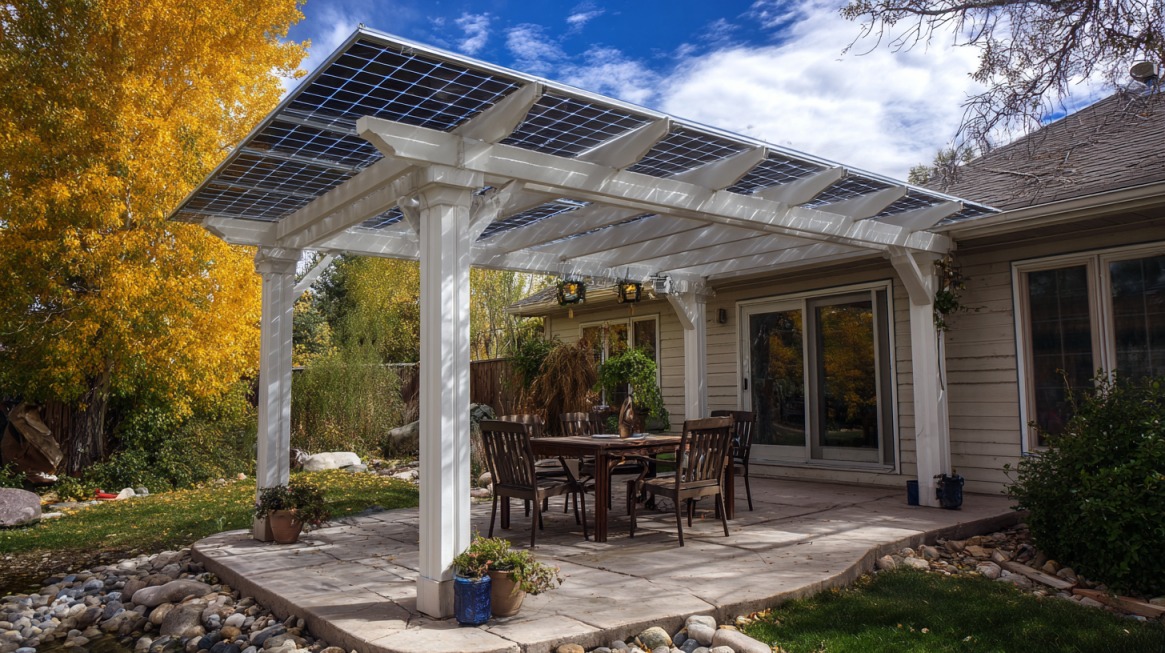
A solar pergola is more than a stylish patio structure. It creates usable outdoor space while supporting photovoltaic panels that generate clean power.
Shade, comfort, and sustainability all converge in one design.
- Dual-use structure: Provides shade and solar electricity simultaneously
- Property value boost: Adds an energy-efficient feature buyers appreciate
- Eco-friendly living: Supports sustainable energy goals and reduces utility costs
- Flexibility in design means it can be tailored to nearly any backyard layout.
Key Considerations Before You Start
A successful solar pergola build starts with proper planning. Before grabbing tools or ordering panels, a few vital factors must be addressed.
Sunlight Exposure & Panel Positioning
Assess your yard’s solar potential. Use apps like SolarEdge or a simple sun tracker to measure peak sunlight hours. South-facing panels perform best in North America, followed by southwest or southeast orientations.
Avoid shaded areas caused by nearby trees, buildings, or fences. Panel positioning should allow for optimal tilt, which may vary based on location. Aim for at least 5 hours of direct sun exposure daily.
Local Building Regulations & Permits
Check with your local municipality for building code requirements. Permits may be required for structures over a certain height or square footage. Solar installations may also have separate permitting processes.
Failing to comply can lead to fines, delays, or forced removal. Some regions offer expedited solar permitting to encourage clean energy adoption.
Freestanding pergolas offer flexible placement and can be built anywhere on a property. Attached versions require fewer posts and may benefit from shared structural support with the home.
Choice depends on personal preference, space availability, and aesthetic goals.
Choosing a Design
Deciding on a solar pergola design sets the tone for construction and final functionality. Balance aesthetics, durability, and solar efficiency.
- Allows full control over dimensions, materials, and style. Ideal for hands-on builders wanting a personalized project. Design flexibility comes with a need for more planning and carpentry skills.
- Popular options simplify construction with pre-cut components and solar integration options. Faster installation and fewer errors but less customization.
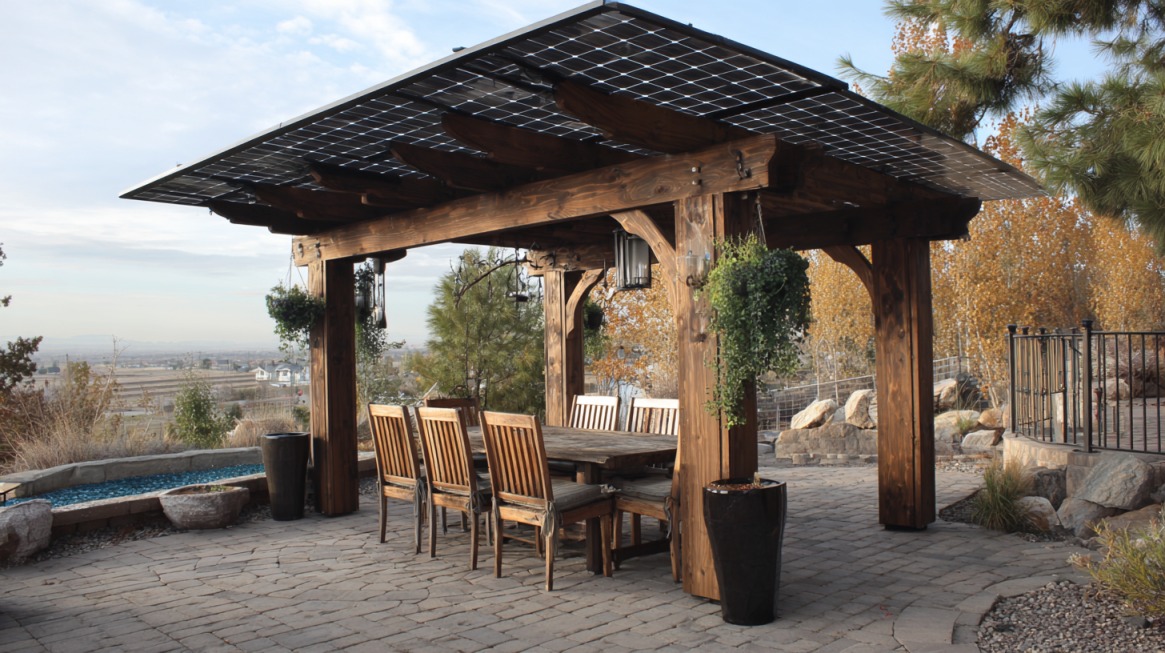
Determine pergola size based on intended use, small for a seating nook, large for dining or entertaining. Panel area directly affects power output, so larger pergolas can accommodate more solar cells. There are also other panel upgrades you can combine to improve both visual and technical features of it.
Orientation should maximize sun exposure. South-facing placement with panels tilted at an angle equal to local latitude provides best energy yield.
Materials
- Pressure-treated pine
- Cedar
- Aluminum
Each material affects overall durability, cost, and visual style.
Part #2: Tools, Materials, and Kits

- Power drill with assorted bits
- Circular or miter saw for cutting lumber
- Level for precision alignment
- Post-hole digger or auger for footing holes
- Ladder or scaffolding for overhead work
- Measuring tape and pencil for markings
- Safety gear: gloves, goggles, ear protection
Having quality tools ready speeds progress and improves build accuracy.
Materials List
- Lumber (beams, rafters, posts): pressure-treated pine, cedar, or aluminum
- Concrete mix for secure footings
- Stainless steel or galvanized screws, bolts, and brackets for weather resistance
- Solar panels (rigid photovoltaic panels) sized for power needs
- Inverters and wiring compatible with solar panels
- Battery storage unit (optional, for off-grid or backup power)
Choosing weatherproof materials prevents premature wear and ensures longevity.
Recommended Kits (Optional)
For those seeking convenience, ready-to-install solar pergola kits provide an all-in-one package:
Includes structural components and solar panel mounts. Available in multiple sizes with options for integrated wiring. Pros include streamlined assembly and a tested design. Cons include limited customization.
Focus on ease of installation with stylish finishes. Solar components often pre-wired for plug-and-play connection. Ideal for quick projects with less technical hassle.
Kits reduce guesswork but may carry higher upfront costs compared to sourcing parts separately.
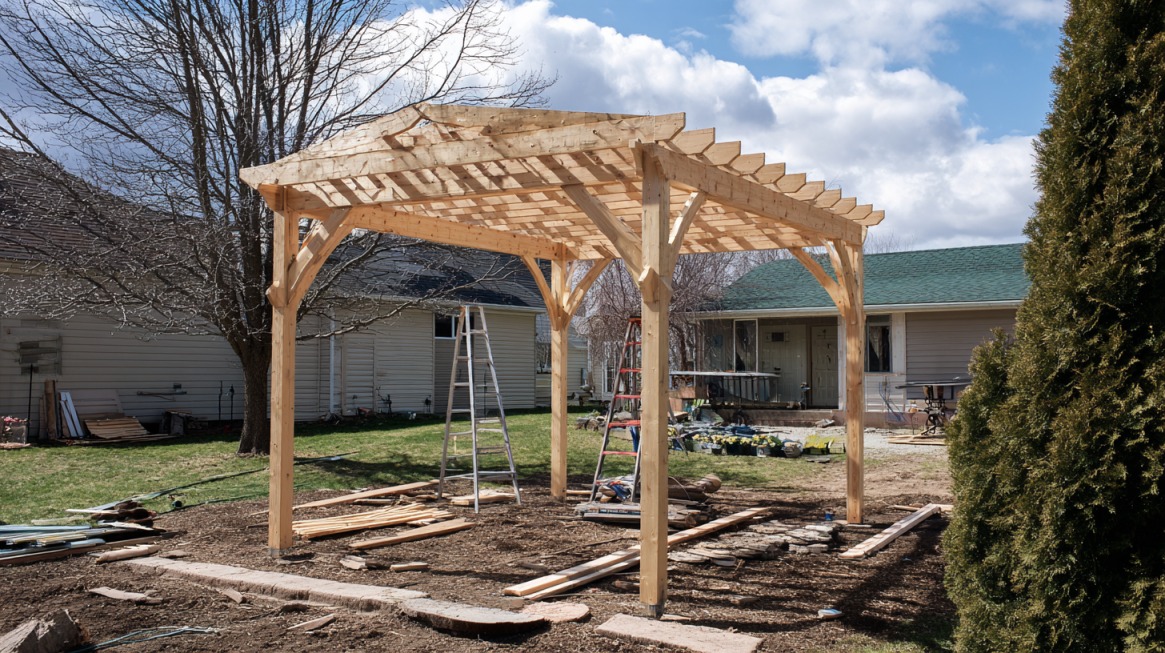
Part #3: Building the Pergola Frame
Preparation ensures a solid foundation and precise placement. Start by selecting a level spot free of debris. Use a shovel or rake to even the ground if necessary.
Mark post locations according to your design measurements. A chalk line or spray paint can help visualize straight lines and square corners. Double-check measurements to prevent costly mistakes.
Confirm spacing meets structural needs, typically 6 to 8 feet apart, depending on beam length and panel size.
Digging & Setting Posts
Dig holes approximately 36 inches deep, or below the frost line for colder climates, to ensure stability.
Place posts in the holes, using temporary bracing to hold them upright and aligned. Pour concrete into the holes around each post, filling to ground level. Check vertical alignment with a level before concrete sets.
Allow concrete to cure for at least 48 hours before proceeding. This curing period guarantees posts remain firm under load.
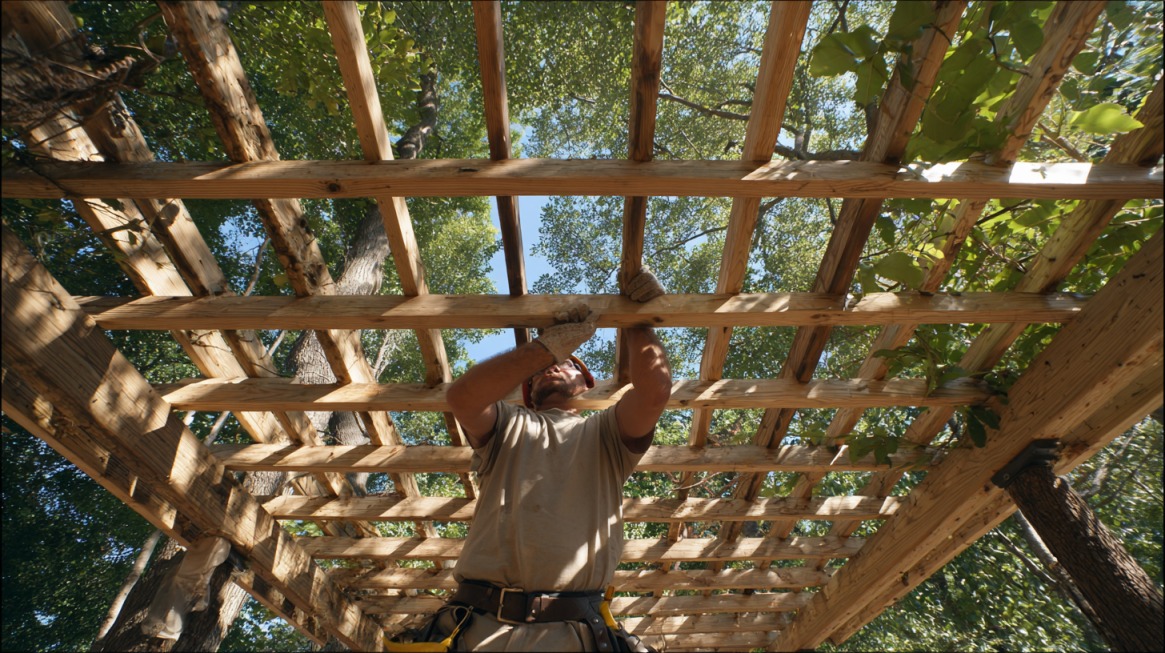
Assembling the Frame
Attach beams securely to posts with galvanized brackets or heavy-duty screws. Ensure beams are level and properly spaced.
Install rafters across beams, spaced according to design, often 12 to 24 inches apart, to support solar panels and provide shade.
Add diagonal braces or cross supports as needed for extra strength and resistance to wind.
Complete the frame by adding top slats if desired, enhancing shade and visual appeal.
Apply stain, sealant, or paint to protect wood surfaces and extend life. For aluminum frames, check for scratch protection coatings.
Part #4: Installing the Solar System
Selecting solar panels affects efficiency, cost, and longevity. Known for high efficiency and sleek black appearance. Often cost more but generate more power in limited space.
Typically less expensive with a bluish hue. Slightly lower efficiency but still reliable for most residential needs.
Consider wattage based on energy goals. For casual usage like charging devices or lighting, smaller wattage works. For powering larger appliances or entire homes, larger arrays are necessary.
Mounting
Secure solar panels to rafters using manufacturer-recommended mounts and hardware.
Correct tilt angle matters: it should roughly match your latitude to maximize sunlight absorption year-round. Adjustable mounts can help optimize this angle seasonally.
Follow strict safety protocols during installation. Wear protective gear and avoid working on wet or windy days. Make sure ladders and scaffolding are stable.
Electrical Setup
Run wiring carefully from solar panels to the inverter or battery storage.
Use weatherproof conduit to protect wiring. All connections must be secure and compliant with electrical codes.
Install the inverter to convert DC power from panels into AC power usable by home appliances. EcoFlow inverters and battery units are popular for their reliability and user-friendly design.
Once setup is complete, perform system tests to verify power output and connection integrity. Troubleshoot any wiring faults or inverter alerts.
Part #5: Cost Breakdown & Budgeting
Deciding between DIY and professional installation impacts overall expenses. DIY projects save labor costs but require time and skill.
| Cost Category | Description | Typical Price Range |
|---|---|---|
| DIY Build Costs | Lumber, hardware, solar panels, inverter, wiring, concrete, tools; varies by size and materials | $3,000 – $10,000 |
| Professional Installation | Specialists handle design, permits, electrical work, warranty; ensures code compliance and optimal setup | $5,000+ |
| Kit Pricing | Prefab solar pergola kits including components; convenient and faster installation | $4,000 – $8,000 |
Long-term savings stem from reduced electric bills and potential incentives or tax credits.
Calculating return on investment requires considering energy usage, local electricity rates, and solar production estimates.
Part #6: Maintenance & Troubleshooting
Proper upkeep ensures the system remains efficient and the structure lasts years.
- Cleaning Panels: Dust, dirt, and debris block sunlight and reduce output. Clean panels gently with water and a soft brush or cloth a few times annually.
- Annual Checks: Inspect mounts, fasteners, wiring connections, and inverter status. Tighten loose components and look for corrosion or wear.
- Seasonal Challenges: Snow buildup should be carefully removed without scratching panels. Leaves and branches may accumulate and should be cleared promptly.
- Storm Damage: After heavy storms, check for physical damage to panels or frame. Replace any broken parts and confirm electrical integrity.
Routine maintenance prevents small problems from turning into costly repairs.
Summary
Solar pergolas combine stylish outdoor living with sustainable power generation. Building one offers benefits in shade, energy savings, and increased property value. Careful planning, correct material choice, and attention to installation details are essential for success.
Encouragement goes out to those ready to embrace renewable energy while creating a comfortable, modern backyard space. With the right tools and guidance, crafting a solar pergola becomes an achievable project for many homeowners and DIY enthusiasts.
Reliable resources and supplier contacts ensure ongoing support for installation and upkeep, helping maintain peak performance through the years.