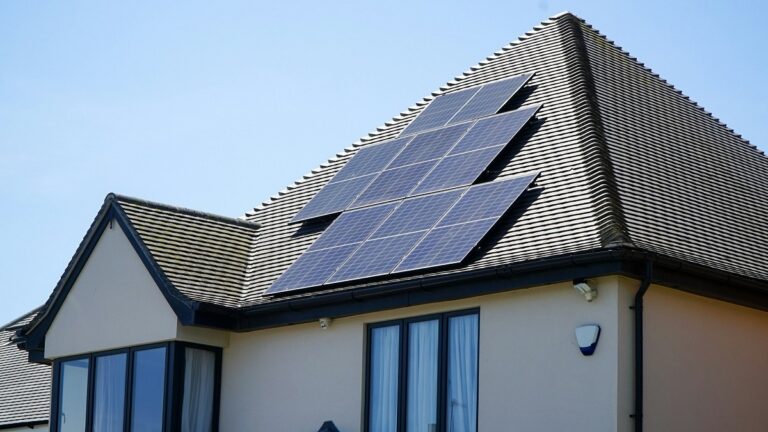
Installing solar panels on your home is one of the smartest long-term decisions you can make – not just for lowering energy bills, but for making your home more sustainable and less dependent on the grid.
But before you get into quotes, panel types, or how many kilowatts you want to generate, there’s one step you really can’t skip: measuring your roof space.
A solid measurement gives you the confidence to move forward, knowing exactly how many panels your roof can support and what kind of return you can expect.
And while it might sound like a job for a contractor, there’s plenty you can do on your own with the right approach.
Let’s break it all down, step by step.
Panel Size Basics
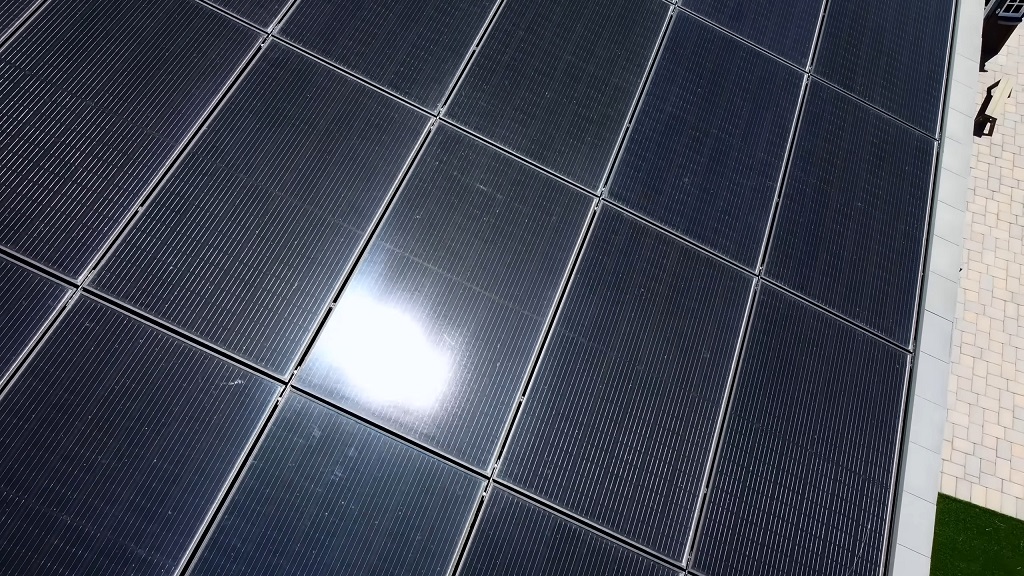
Before touching a measuring tape or launching a satellite tool, get familiar with how much space each panel will take up.
Most residential solar panels are around 3 feet by 5 feet, which means they cover about 15 square feet. But not all panels follow that exact standard.
Some higher-efficiency models – like 400-watt or 430-watt panels – can be slightly larger. One example: a 400-watt panel may measure 3.25 feet by 5.5 feet, closer to 17.4 square feet.
Why this matters: if you assume the wrong panel size, your entire estimate could be off by several panels, which means underestimating or overestimating your energy output.
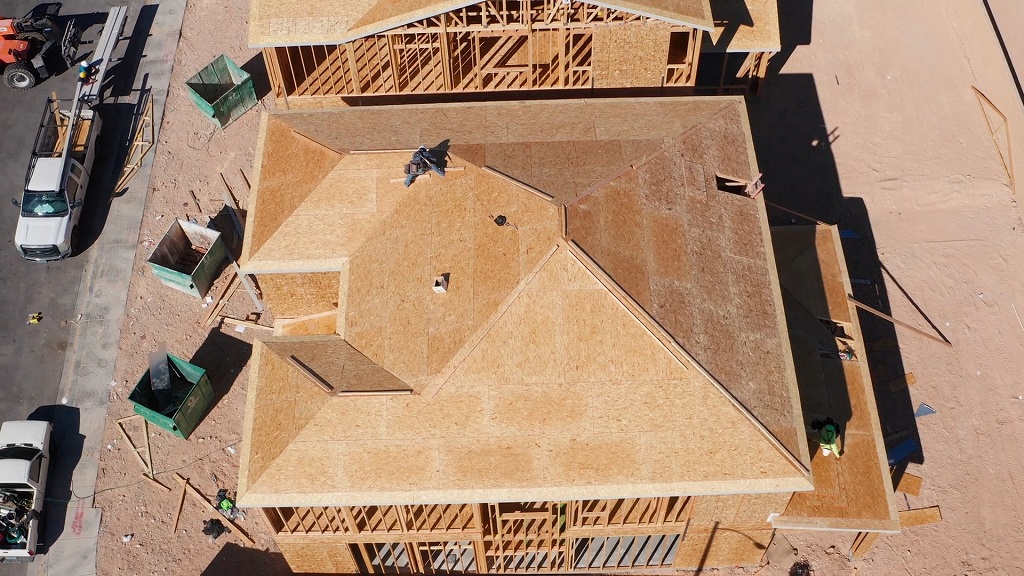
Step 1: Measure the Roof
You’ve got two options here – go old-school and climb the ladder, or use some surprisingly accurate online tools. Both work, depending on your comfort level and setup.
Manual Measurement
If you’re safe on a ladder and have basic gear, you can measure your roof by hand.
What You’ll Need
- Measuring tape or laser measurer
- Notepad or phone to log dimensions
- Safety gear (non-slip shoes, helmet, harness if needed)
What to Measure
- Height: From the roof peak to the bottom edge
- Width: From one side (eave) to the other
- Sections: Break up unusual roof shapes (L-shapes, dormers) into rectangles or triangles for easier math
Sketch it Out
Even a rough drawing helps you stay organized, especially if you need to subtract obstacles later.
Online Tools
If climbing isn’t your thing, tools like Google Project Sunroof or Australia’s SunSPOT can give you a strong estimate.
They work by using satellite imagery to measure your roof’s shape and orientation. Just type in your address, and you’ll get an estimate of the usable area, often with shading and tilt already factored in.
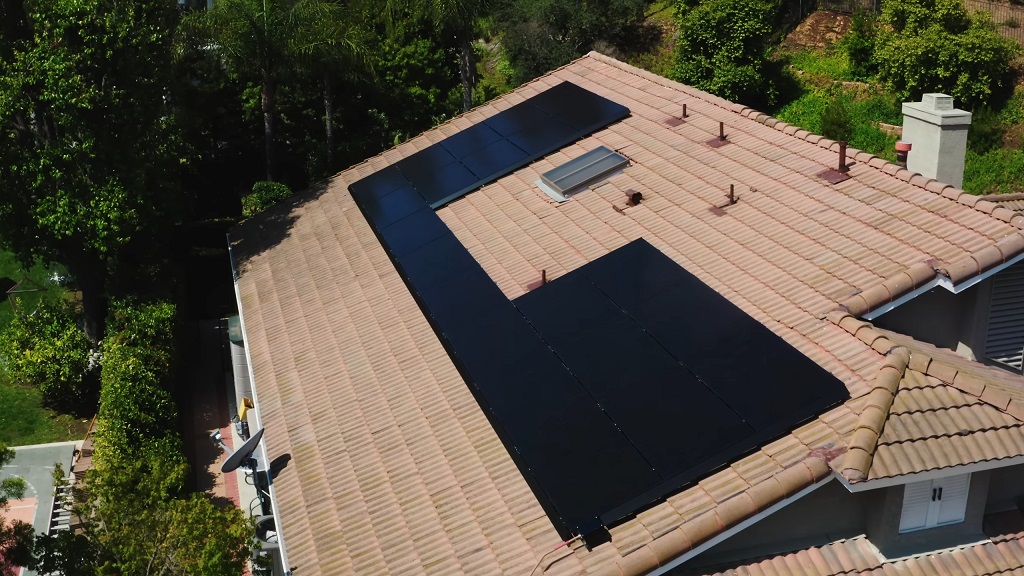
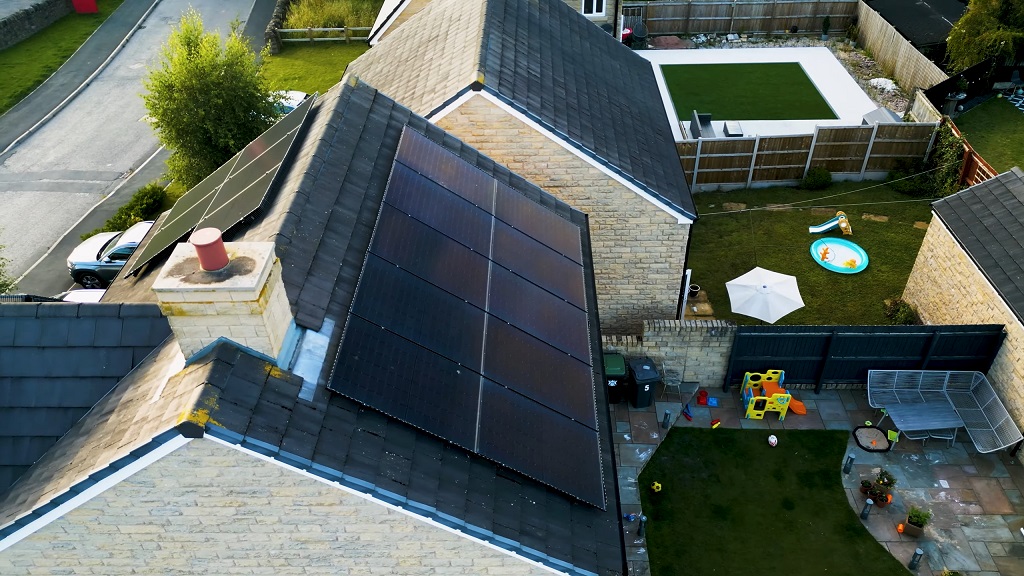
Step 2: Factor in Obstructions and Buffer Zones
Not all of your roof is available for panels. That chimney, those skylights, the roof vents – they all eat into your usable area.
Common Obstructions:
- Chimneys
- Pipes or plumbing vents
- Skylights
- Dormers
- Satellite dishes
- HVAC units (for flat roofs)
Tip: Measure these individually and subtract them from your total roof space.
Buffer Space
Building codes in many areas require a 3-foot buffer around the roof’s edges – top, bottom, and sides. That space allows room for fire access, wind resistance, and safe installation. Even if it’s not legally required in your area, it’s a smart safety margin to include.
Example
- Total roof area: 500 sq ft
- Obstructions: 50 sq ft
- Buffer zones: 30 sq ft
- Usable roof space: 420 sq ft
Step 3: Do the Math on How Many Panels Fit
Once you’ve nailed down your usable area, it’s time to figure out how many panels will fit.
Use the formula:
Number of Panels = Usable Roof Area ÷ Area per Panel
| Usable Roof Area (sq ft) | Panel Size (sq ft) | Number of Panels |
| 420 | 15 | 28 |
| 420 | 17.4 | 24 |
| 300 | 15 | 20 |
| 500 | 15 | 33 |
Small gaps between panels – around ¼ inch – are needed for mounting clamps, so factor in a little extra space if you’re cutting it close.
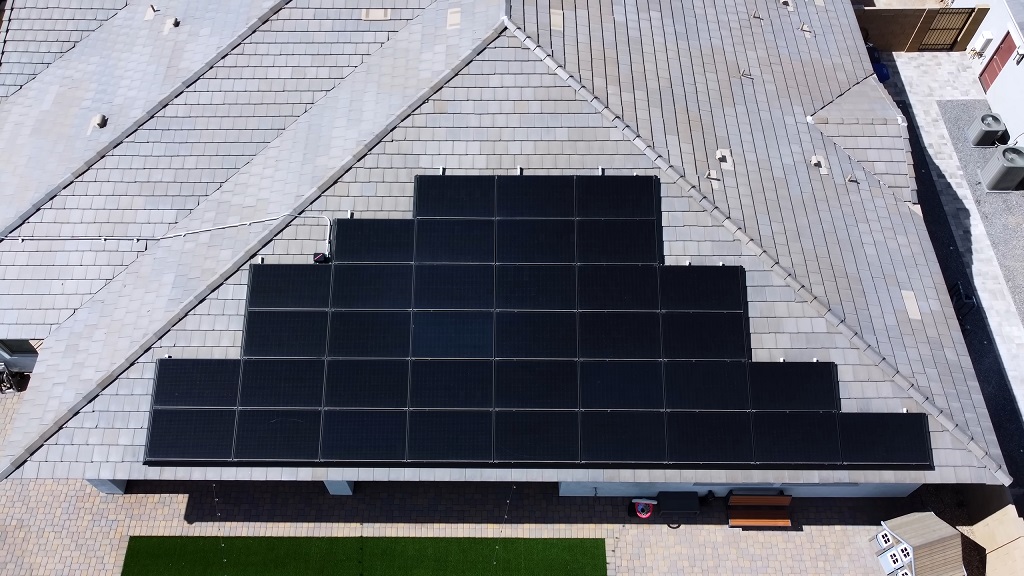
Orientation Matters
- Portrait (vertical): Panels stand tall; good for narrow sections
- Landscape (horizontal): Panels lay wider; good for broader areas
Either works, but your installer may recommend one over the other based on the roof layout and aesthetics.
Step 4: Don’t Skip Orientation and Tilt
The size of your roof tells you how many panels you can fit. But how they’re positioned affects how much energy they’ll actually generate.
Orientation by Hemisphere
- Northern Hemisphere: South-facing roofs are ideal
- Southern Hemisphere: North-facing roofs work best
East- or west-facing roofs are still workable, though you might see 10–20% less energy output.
Ideal Tilt Angle
Your best bet is a tilt that matches your local latitude – check tools like Solar Advice for postcode‑specific guidance on your optimal panel angle.
Examples
- Sydney (33.87°S) → 34° tilt
- New York City (40.71°N) → 41° tilt
If your roof pitch is significantly different, adjustable racking systems can help correct the angle. Not every roof needs this, but it’s worth considering if efficiency is your top priority.
Step 5: Watch Out for Shade and Sunlight
Even a perfectly-sized system can underperform if trees or nearby buildings cast shade during key hours of the day.
View this post on Instagram
Shade Sources to Watch
- Nearby buildings
- Trees (especially deciduous ones in winter climates)
- TV antennas or tall chimneys
- Power poles and lines
Use online tools (like Project Sunroof) or have a solar specialist assess shade patterns throughout the year.
Solar Irradiance by Location
Where you live plays a major role in how much energy your system can actually produce.
| Location | Daily Output (kWh) |
| Sydney | 26 |
| Brisbane | 28 |
| Hobart | 23 |
| Arizona (USA) | ~30 |
| Alaska (USA) | ~12 |
Even with lower output in places like Alaska, solar can still be worthwhile, especially with battery storage or net metering.
Step 6: Can Your Roof Hold the Weight?
A standard solar panel weighs about 40 pounds (18 kg). Multiply that by 20–30 panels, and you’re adding a few hundred pounds to your roof.
Check for:
- Joist spacing: Most U.S. homes have joists 16 inches apart, which works well
- Roofing material: Metal, shingles, and tile all require slightly different mounting systems
- Snow and wind loads: Local climate matters. Heavy snow or strong wind zones may need extra anchoring or engineering
A solar installer or structural engineer can confirm if your roof is ready. In most cases, standard residential roofs can handle the load without upgrades, but it’s worth checking.
Step 7: Don’t Forget Local Codes and Permits
Every city, town, and neighborhood seems to have its own rules about rooftop solar.
Common Rules
- 3-foot setbacks on all sides
- Permits for electrical and structural modifications
- Historical district or HOA restrictions in some areas
- Net metering limits or equipment regulations
In places like the UK, some homes qualify for permitted development status, but larger installations may require a planning application. Check with your local government or installer.
Step 8: Use the Right Tools
There’s no need to go it alone. Some great tools are out there to help you with everything from sunlight estimates to full system design.
Helpful Resources
| Tool | What It Does |
| SunSPOT | Estimates potential based on roof, usage, and shade (Australia) |
| Project Sunroof | Uses Google Maps to measure roof and sunlight (Global) |
| PVWatts | Estimates system output by size and location (U.S.) |
| Solar Proposal Software | Used by pros for precision layouts and financial forecasts |
Use these tools to get a ballpark idea, then confirm with an installer.
Step 9: Talk to a Solar Pro
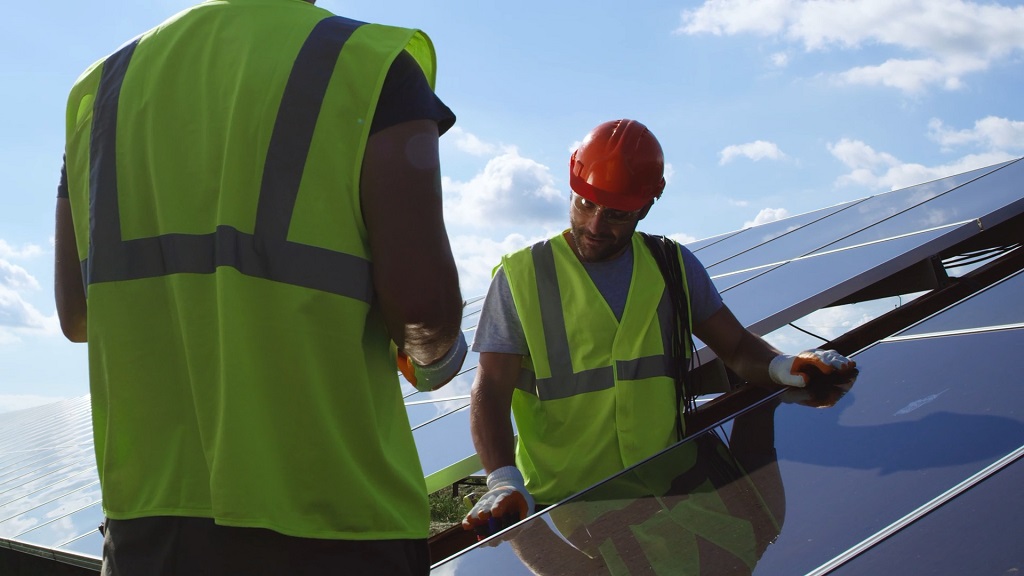
Once you’ve done your part – measured, calculated, researched – it’s time to get a professional on board. They’ll take what you’ve started and build on it with:
- A full structural assessment
- A design that fits your budget, roof, and energy use
- Permit submission and regulatory compliance
- System sizing based on your energy bills
Example
An average home in Australia using 11–23 kWh per day might need 15–20 panels, depending on panel wattage and roof availability.
They’ll also look ahead – factoring in electric vehicles or future appliances – so your system doesn’t fall short later.
Final Thought
Measuring your roof for solar panels isn’t just a box to check. It sets the foundation for how well your system will perform, how much it will cost, and how long it will take to pay off.
By knowing the size of your roof, accounting for obstructions, considering orientation, and double-checking your local rules, you’ll be better prepared for smart solar decisions.
Start with your own measurements. Then call in a trusted pro to refine the plan. With the right prep, your roof will be working for you for decades to come.