
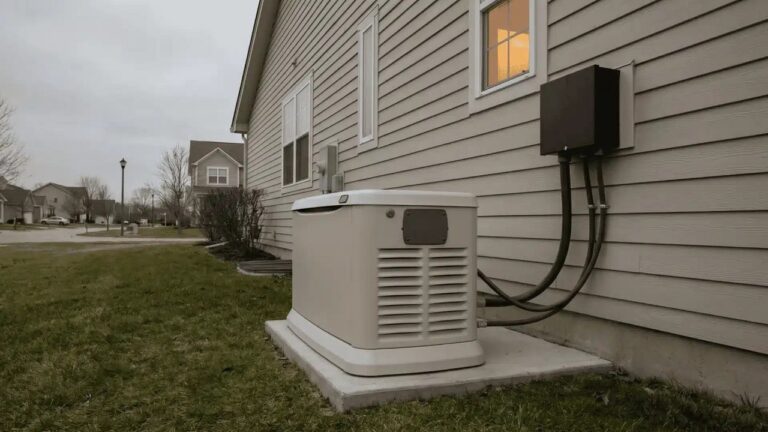
Power outages can interrupt refrigeration, communication, lighting, work, and medical equipment.
A portable backup system under $2,000 can keep essential devices operating without the cost or complexity of whole-home backup.
Careful load calculations, adequate battery capacity, compatible solar panels, and safe connections are essential.
Proper testing before an outage also helps confirm expected runtime and identify equipment that may overload the system.
Decide What You Need to Power
List only essential devices:
- Refrigerator or freezer
- Wi-Fi router
- Phones and laptops
- LED lights
- Fans
- CPAP or other medical equipment
A system under $2,000 should support critical loads, not an entire home.
Power stations below 2,000Wh work best for electronics, lights, medical devices, and occasional small appliances.
Avoid planning around electric heaters, central air conditioning, water heaters, ovens, dryers, or other high-demand equipment.
Choose a Power System
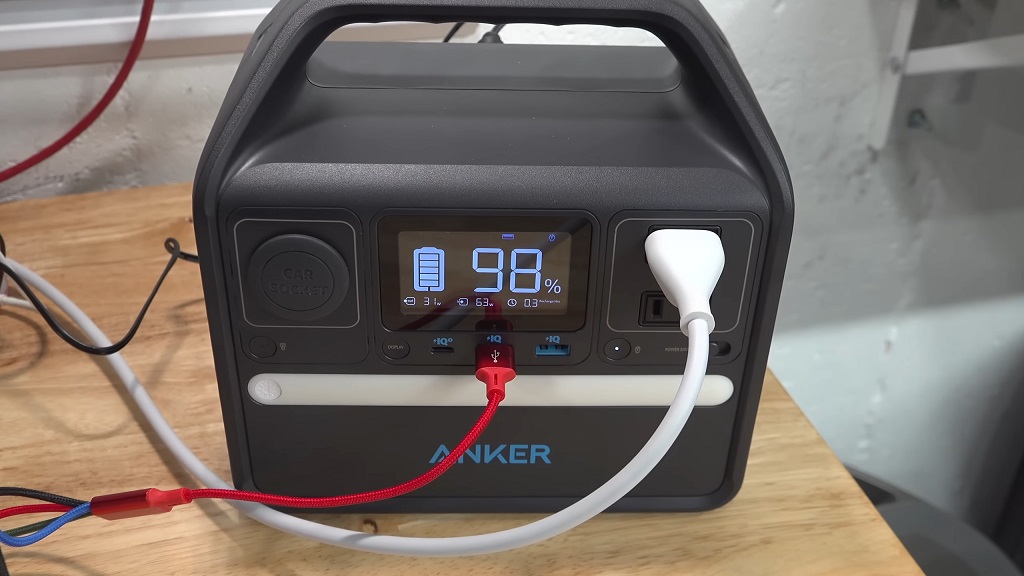
A portable power station is the simplest option for most users because major components are built into one unit:
- Battery
- Inverter
- Charge controller
- AC and USB outlets
- Solar-charging support
Built-in controls make setup easier and reduce the need for separate wiring.
Many models also include overload protection, temperature monitoring, battery management, and display screens showing input, output, and estimated runtime.
Choose a model with a LiFePO₄ battery when possible. LiFePO₄ batteries can provide about 3,000-6,000 or more charge cycles, 80-90% usable capacity, and more than 90% round-trip efficiency.
Long cycle life makes this battery type suitable for emergency backup and regular use.
A model such as the Jackery 1000 shows how these features can work together in a portable system, with a 1,264Wh LiFePO₄ battery, 2,000W inverter output, expandable capacity up to 5,000Wh, and up to 800W of solar input.
Match inverter output to the planned load and startup surge. Continuous output must support all devices operating at the same time, while surge output must handle refrigerators, freezers, fans, pumps, and other motor-powered appliances during startup.
Check charging options before buying. AC charging is useful before an expected outage, while solar charging can extend runtime during longer power interruptions.
Car charging may provide another option, but it is usually slower.
A DIY system may provide more capacity for the price, but it requires properly sized cables, fuses, breakers, grounding, disconnects, and secure connections.
Incorrect installation can cause overheating, equipment damage, electrical shock, or fire, making an integrated power station a safer choice for most beginners.
Calculate Your Power Needs
Use this formula:
Watts × hours of use = watt-hours
A 100W device used for 5 hours consumes 500Wh.
Calculate daily energy use for every device, then add the totals. Also determine which devices may run at the same time.
Account for startup surge. Add the appliance with the highest starting wattage to the combined running wattage of all other active devices.
For a basic emergency setup, target:
- 1,500-2,500Wh of battery capacity
- 1,500-2,400W of continuous inverter output
- Enough surge capacity to start a refrigerator or freezer
Allow extra capacity for inverter losses, temperature, appliance cycling, and standby power.
Use a plug-in watt meter to measure actual consumption.
Divide the Budget
A practical budget:
- 1.5-2.5kWh LiFePO₄ power station: $1,100-$1,400
- 300-500W of portable solar panels: $350-$500
- Heavy-duty extension cords and adapters: $75-$125
- Watt meter and safety supplies: $50-$100
- Estimated total: $1,575-$2,000
Battery or Solar Priority
Spend more on battery capacity when preparing for short outages. A larger battery provides more stored energy at night and during periods with limited sunlight.
Allocate more money to solar panels when preparing for outages lasting several days. Added solar capacity can recharge the battery faster during regular daylight.
Cords, Adapters, and Safety Supplies
Choose heavy-duty extension cords rated for the expected appliance load.
Use outdoor-rated cords when cables may be exposed to moisture or outdoor conditions.
Select adapters that match the power station and solar-panel connectors. Include a watt meter for measuring appliance use and confirming that connected loads stay within the inverter limit.
Avoid using the full $2,000 on the power station alone. Proper cords, compatible panels, and basic safety equipment are necessary parts of a reliable setup.
Add Compatible Solar Panels
Check these power station specifications:
- Solar-input voltage range
- Maximum input wattage
- Current limit
- Connector type
Panel voltage must stay within the allowed input range. Excess voltage can damage charging equipment.
Maximum input wattage limits charging speed. Current limits also affect safe panel configuration.
Solar panels generate power during daylight. Cloud cover, heat, shade, dirt, panel angle, cable losses, and season can reduce output.
Panels do not generate electricity at night.
Place folding panels in direct sunlight and keep connectors dry.
Connect Appliances Safely
Use heavy-duty extension cords to connect essential appliances directly to the power station.
Keep total demand below continuous inverter output. Leave enough surge capacity for refrigerators, freezers, pumps, and fans.
Fully unroll cords carrying heavy loads. Keep cords away from rugs, doors, water, and sharp edges.
Keep the power station dry, ventilated, and clear of blocked cooling vents.
A transfer switch or critical-load panel is required for household circuit connections.
Never backfeed electricity through a wall outlet.
Work involving a main electrical panel should be completed by a licensed electrician.
Test medical equipment with the exact power station before an emergency.
Test the Setup
Testing before an outage confirms that each appliance works with the power station and helps identify problems before backup power is needed.
Test Each Device
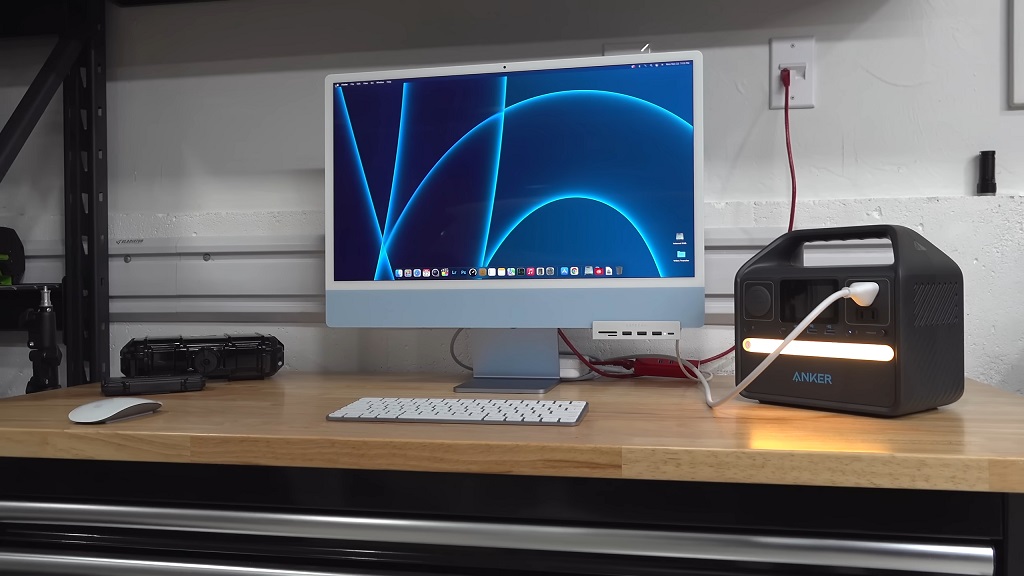
Start with a fully charged battery, then connect one appliance at a time.
- Fully charge the battery
- Connect each appliance separately
- Check running and startup wattage
- Monitor battery percentage, inverter load, and temperature
- Record how much power each device uses
Pay close attention to refrigerators, freezers, fans, pumps, and medical equipment.
Motor-powered devices may require a brief startup surge that is much higher than their normal running wattage.
Run a Simulated Outage
After individual testing, connect all planned devices and operate them as you would during an actual outage.
Monitor the system for:
- Overload warnings
- Automatic shutdowns
- Warm cords or adapters
- Rapid battery loss
- High operating temperatures
Compare actual runtime with the original calculation. Inverter losses, appliance cycling, temperature, and standby power can reduce usable runtime.
Adjust and Maintain the System
Reduce unnecessary appliance use if the battery drains too quickly. Added battery capacity, more solar input, or a revised operating schedule may also improve performance.
Recharge the battery after every test. Inspect cords, plugs, adapters, and solar connectors regularly for damage, loose fittings, or heat marks.
Summary
A strong emergency setup under $2,000 includes a 1.5-2.5kWh LiFePO₄ power station, 300-500W of compatible solar panels, and safe extension-cord connections.
Such a setup can support refrigeration, communication, lighting, laptops, phones, fans, and selected medical equipment during an outage.